Planning your wedding reception involves a multitude of decisions, from the menu to the decor. One stunning way to elevate your reception space is by creating a gallery wall with framed artwork. Incorporating a framed picture adds personality, elegance, and charm to your venue, leaving a lasting impression on your guests. In this comprehensive guide, we’ll walk you through the step-by-step process of creating a visually stunning gallery wall that will become the focal point of your wedding reception.
Getting Started: Inspiration and Planning
Before diving into the creation of your gallery wall, take some time to gather inspiration. Browse through wedding magazines, Pinterest boards, and online galleries to get a sense of the styles and layouts that appeal to you. Consider the overall theme and color scheme of your wedding, as well as the size and layout of your reception space.
[media-credit id=”1″ align=”center” width=”1000″] [/media-credit]
Gather Your Materials
To bring your gallery wall to life, you’ll need the following materials:
- Framed pictures: Choose a variety of artwork, photographs, and prints that reflect your personal style and complement your wedding theme.
- Picture frames: Opt for frames in different sizes, shapes, and finishes to add visual interest to your gallery wall.
- Hammer and nails or picture hanging strips: Depending on your venue’s rules and regulations, you may need to use nails or adhesive strips to hang your artwork securely.
- Level: Ensure that your gallery wall is perfectly straight by using a level to align your frames.
Designing Your Gallery Wall
Now that you have your materials assembled, it’s time to design your gallery wall. Follow these steps to create a cohesive and visually appealing display:
Choose a focal point
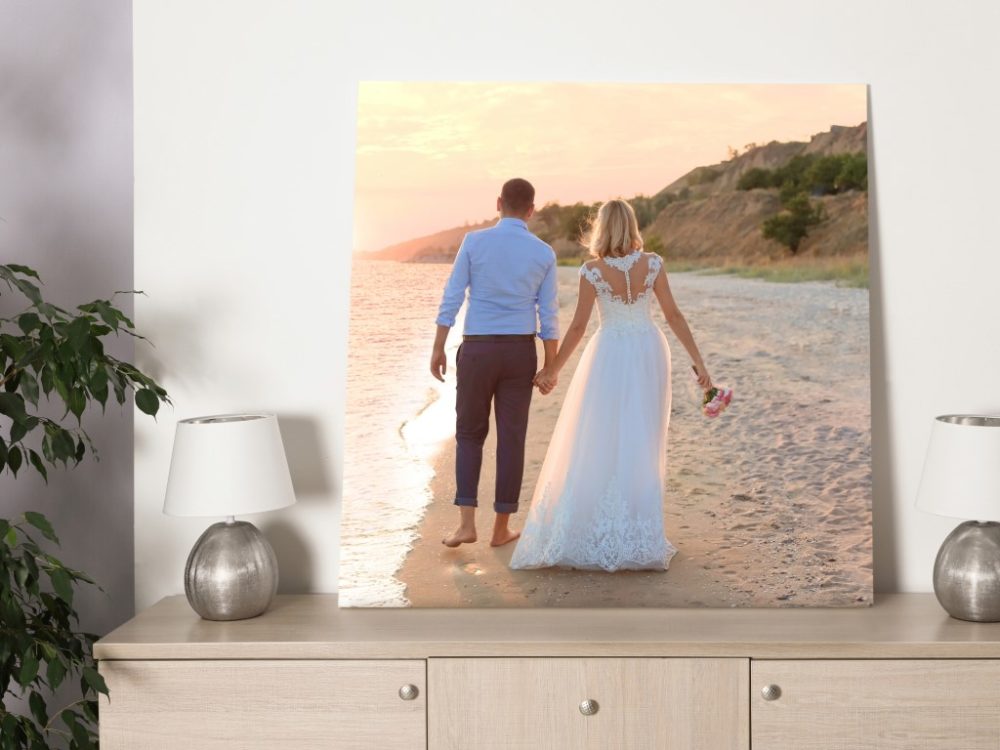
Select a focal point for your gallery wall, such as a large piece of artwork or a decorative mirror. This will serve as the anchor for your display and help guide the placement of your other frames.
[media-credit id=”1″ align=”center” width=”1000″] [/media-credit]
Arrange your frames
Lay out your frames on the floor in front of the wall where you plan to hang them. Experiment with different arrangements until you find a layout that you love. Consider mixing and matching frame sizes and styles for added visual interest.
Create balance
Ensure balance and symmetry in your gallery wall by evenly distributing frames of various sizes and shapes. Aim for a mix of large statement pieces and smaller accent frames to create depth and dimension.
[media-credit id=”1″ align=”center” width=”1000″] [/media-credit]
Leave space between frames
Allow for adequate spacing between each frame to prevent overcrowding and maintain visual clarity. Use painter’s tape to mark the desired placement of each frame on the wall before hanging them.
Hanging Your Artwork
With your design finalized, it’s time to hang your artwork and bring your gallery wall to life. Follow these steps for a seamless installation:
Prepare the wall
Clean the wall surface and remove any dust or debris to ensure proper adhesion of your hanging hardware. If using nails, mark the desired placement of each nail with a pencil.
Hang your frames
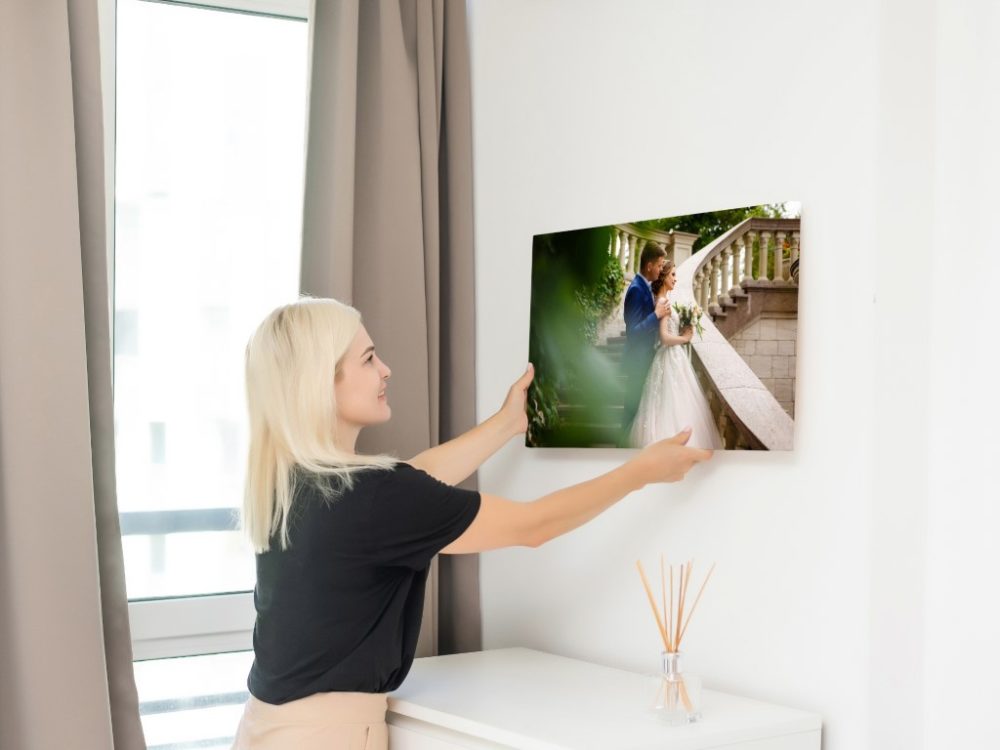
Using a hammer and nails or picture hanging strips, securely hang each frame according to your predetermined layout. Use a level to ensure that each frame is straight and aligned with the others.
Step back and admire
Once all of your frames are hung, step back and admire your handiwork. Make any necessary adjustments to achieve the perfect balance and symmetry.
Adding Personal Touches
To personalize your gallery wall even further, consider incorporating the following elements:
- Family photos: Include framed photographs of you and your partner, as well as your families and loved ones, to add sentimental value to your display.
- Custom artwork: Commission a local artist to create custom artwork that reflects your love story or incorporates meaningful symbols and motifs.
- Monograms or signage: Incorporate monograms or signage with your initials or wedding date to personalize your gallery wall and tie it into your overall wedding theme.
Maintenance and Care
After your wedding reception, preserve the beauty of your gallery wall by following these maintenance tips:
- Dust regularly: Use a soft, dry cloth or duster to gently remove dust and debris from your frames and artwork.
- Avoid direct sunlight: To prevent fading and discoloration, avoid hanging your gallery wall in direct sunlight or areas with high humidity.
- Check for stability: Periodically check the stability of your hanging hardware to ensure that your frames are securely attached to the wall.
Conclusion
Creating a gallery wall with framed artwork is a simple yet effective way to elevate the decor of your wedding reception. By following the step-by-step process outlined in this guide, you can design a visually stunning display that reflects your personal style and adds a touch of elegance to your special day. With careful planning and attention to detail, your gallery wall will become a cherished focal point that leaves a lasting impression on your guests.
Check out CANVASDISCOUNT.com for ideas on implementation. You’ll be able to create a memorable and elegant feature for your wedding reception. Not only does it add a personal touch to your special day, but it also provides a beautiful backdrop for photos and conversations, making your wedding truly unforgettable.