When it comes to creating invitations, a convenient option is to explore free online invitation templates. These templates offer a wide range of designs and styles that can be easily customized to suit your event. Websites like Adobe Express provide user-friendly interfaces where you can personalize your invites with just a few clicks.
Simply choose a template that fits your theme, add your event details, and download or share your digital invitations hassle-free. This method not only saves time but also allows for creativity and personalization without the need for specialized design skills. Give it a try and see how easy it is to create stylish invitations for your special occasion!
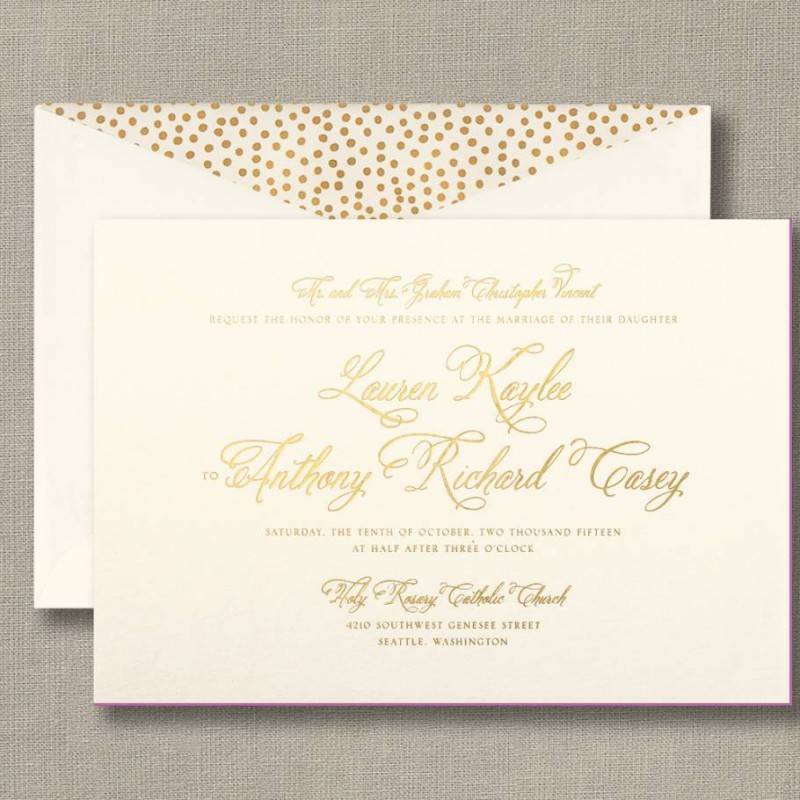
Lots of brides are starting to use digital invites and distribute using social media and emails. If you are a Google user (gmail and spreadsheets) have the names and emails of everyone you want to invite in a spreadsheet then you can use a mail merge software that invite everyone with a push of a button. If you’re more traditional and you love the look of those gold or silver foil invitations, you’re not alone! They’re super popular right now, and most people don’t know that you can create them at home. With a few simple items, you can DIY these beautiful invitations and save some serious cash. Here’s what you’ll need:
- A Laser Printer
- Card Stock
- Heat Reactive Foil (available at any craft store)
- A Thermal Laminator (available for about $20 on Amazon and at craft stores)
How to Create the Foil Invitation
The first step is to design your invitation the way you want, keeping in mind which lettering you want to show up with the foil finish. Print off your invitations so they’re ready to go. Next, looking at your invitation, cut the heat reactive foil so that it will cover only the lettering or designs you want to show up in gold. For instance, if you only want the names at the top to be gold, cut a block of the foil that covers only those names.

The Laminator
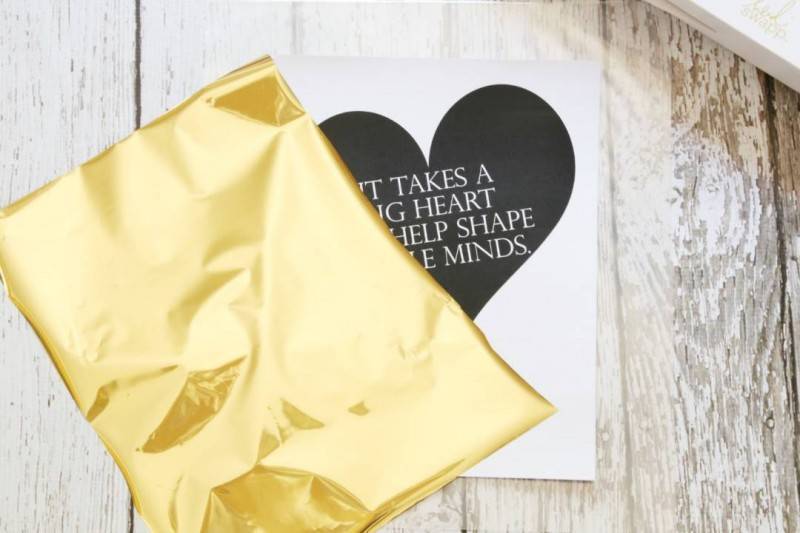
The next step is to run your invitation through your laminator a few times to warm it up. Then, place your block of foil over the areas you want to be covered in gold and rub it down. The trick is that the gold foil sticks to the printed text and not the blank areas of the card.

Classy Cutter shows how this works with a beautiful foil print used as a teacher gift!
When you lift up the foil, the printed letters will be covered in the gold foil but the rest of the invitation will remain white (or whatever color you’ve chosen).
Voila! It’s super easy and inexpensive to create and you don’t have to order these from a professional. The result is elegant and classy and most importantly, cheap! Let us know what you think of this idea in the comments below.